Follow the directions below to prepare for class (you may also review these instructional videos when you need a refresher or to study for exams):
Monotype Overview:
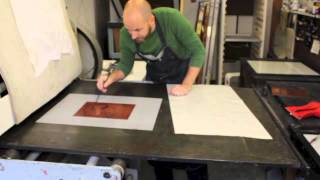
Step 01: Copper Plate Prep

Step 02: De-greasing Copper Plate
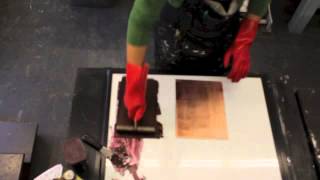
Step 03: Rolling Out Ink
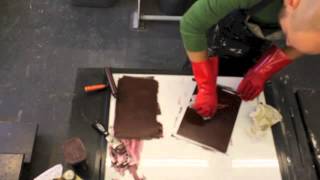
Step 04: Subtractive Monotype
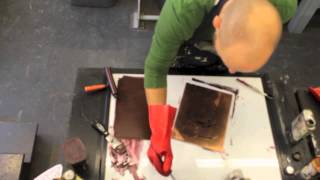
Step 05: Additive Monotype
Step 06: Setting Up Registration Matrix

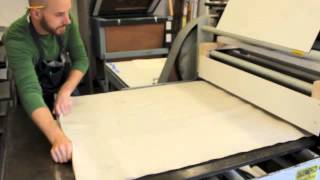
Step 07: Paper Blotting

Step 08: Monotype Printing
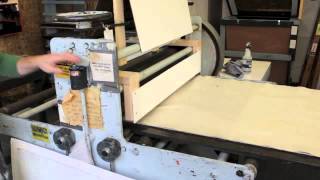
Step 09: Printing On Intaglio Press

Step 10: Oil Based Ink Clean Up

Step 11: Multi-Color Printing On Intaglio Press
Step 12: Monotype Printing Ghost
No comments:
Post a Comment