Intaglio Assignment 01
Follow these instructions to complete the first assignment. Take your time watching these videos, don't try to do them all at once (you will come to hate the sound of my voice if you try it). Watch a couple of tutorials and then do the things you have learned. Take notes. Fast forward when it bogs down...

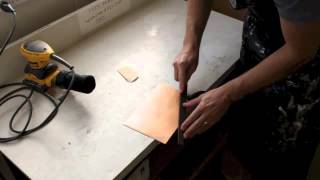
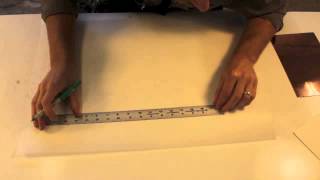
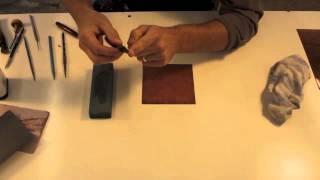
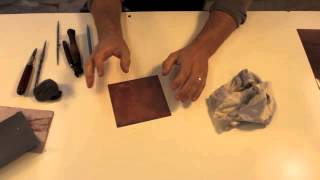
Stage 01 Step 01: Copper Plate Prep
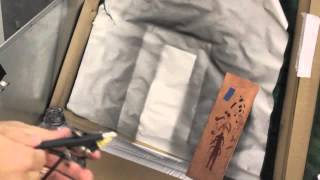
Stage 01 Step 03: Hard Ground
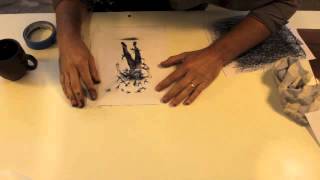
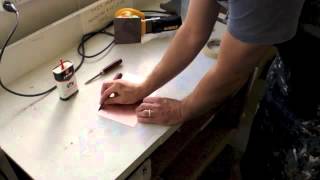
Stage 01 Step 04: Transferring Drawing
Stage 01 Step 05: Drawing Through Hard Ground
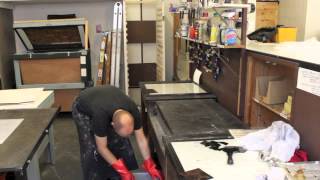
Stage 01 Step 06: Etching the Plate
You should now put the plate into the Ferric Chloride tank to allow the acid to bite through the lines you have scratched through the wax hard ground.

- Put a long piece of tape on the BACK of your plate (also make sure you cover the back of your plate with tape, hard ground, or contact paper if it is not covered by something already (unless you want the back of the plate to etch in a random flat way:)
- The tape should be long enough to allow the plate to submerge all the way into the tank and leave you with enough excess to hang over the side of the tank so you can pull the plate back out when it has etched long enough.
- Make sure you use the good and sticky kind of tape (beige) not the blue painters tape. The blue kind will not stick well enough to allow you to pull the plate back up and out of the acid.
- Leave the plate in the acid as long as desired. Look that the test plate print that is posted in the room to see the difference between 20 minutes (light), 1 hour (deeper/darker), etc....

- Once the plate is fully etched use the tape to slowly lift the plate out of the acid and hold it over the tank so that most of the acid drips back into the tank.
- Once the acid has stopped running off the plate rinse the plate with water in the sink.
- Once all the acid is cleaned off you can put the plate into the vinegar and salt solution to de-oxidize it and add more lines (for a progressive etch) or clean the hard ground wax of with super washing soda (Ammonia also removes it).
- Once the hard ground is removed you should proof the plate to see where you are and to make decisions about what else is needed.
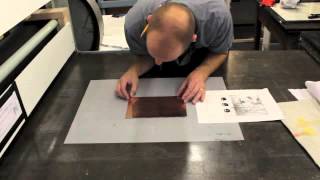
Stage 01 Step 08: Setting Up Registration Matrix
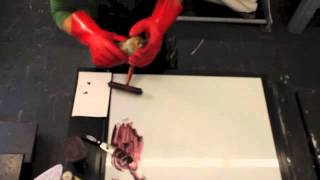
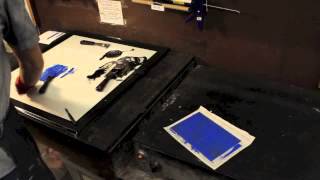
Stage 01 Step 09: Wiping Intaglio Plate
Remember that you are just trying to wipe the ink off the surface of the plate - avoid over scrubbing. Take your time and gently remove it with the tarlatan in sharp fast little swirls.
Stage 01 Step 10: Blotting Paper
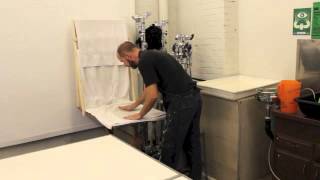
Make sure that you soak your good paper (Rives BFK, etc.) for an hour or so - a quick dip in the paper soaking tank won't result in paper that is supple enough to give a great impression.
Also - make sure you dump out the soaking tank water and rinse it. If you don't we will all have moldy paper.
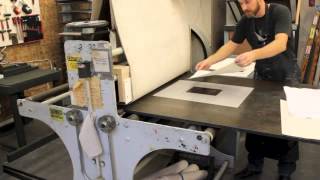
We now have a different press than the one shown in this video... however the principles are the same, so use common sense and make sure you look at the signs/diagrams on the press to set the pressure correctly).
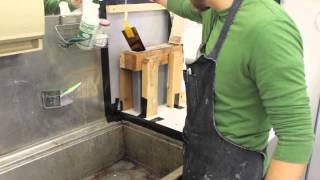
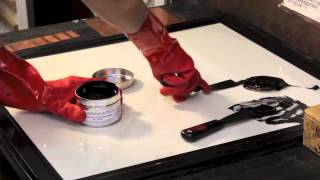
Stage 01 Step 12: Oil Based Ink Clean Up
Once you have printed your plate you should cover the print with clean newsprint and place it under the "drying boards." This first impression is called a "proof" and after it dries you will want to evaluate the image and add or subtract to the marks on the plate to refine the image. The easiest way to add marks to the plate is to add "Dry Techniques" (drypoint, roulette, etc).
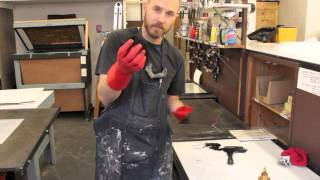
Intaglio Tool Sharpening
Dry Techniques
Printing Dry Techniques
Oil Based Ink Modification
Remember that oil based ink is essentially pigment in a binder (linseed oil, etc), so how you modify the ink makes a difference:
- Adding Magnesium Carbonate = Adding body
- Adding 00 Oil = Makes the ink longer (runny) more plate tone but the danger is over wiping
- Adding 03 Oil = Adds tack (sticky) some plate tone but also helps with over wiping
- Adding 08 Oil = Adds tack and makes the ink longer (almost impossible to wipe)
See the image below for an example of how different modifications of ink and the way the pate is wiped change the result (left to right: plate, over wiped, Perfection Palette with 00 oil added, 2/3 Frankfurt black with 1/3 Perfection Palette and 5 drops of 03 oil).

Removing marks from a plate is quite a bit more difficult to do... But you can scrape and burnish your plate in a process not unlike using an eraser on a drawing.
Intaglio Assignment 02
Follow these instructions to complete the second assignment. For this assignment you should take a look at the assignment sheet in the syllabus and make sure you complete the "Master Study" requirements before you get started.
Follow all the same steps as assignment 01 (de-grease the plate, add line via hard ground etching or drypoint (remember to riff off of the techniques used in your "Master Print") and proof your plate at least once before adding aquatint.
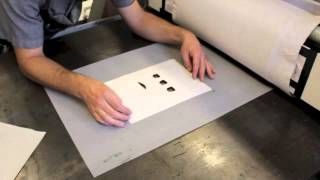
De-Grease the plate and add the aquatint "dots" as shown below.
Intaglio Print 02: Aquatint Application
Intaglio Print 02: Aquatint Stop Out

This image shows how the stop out protected some areas of the plate from the acid, and the areas that were allowed to bite have become textured/will hold ink
Also think about using the Aquatint "Spit Bite" technique and/or "Chine Colle" (listed in the Advanced Techniques section of this blog page below).
Proof the plate and add or subtract marks using dry techniques or via scraping and burnishing until you have a successful proof, then pull the edition (make sure all the prints match your B.A.T).
Two Color Etching Instructions (Advanced Technique)
Follow these instructions to complete the second assignment. You will want to take your first plate and transfer the imagery from it onto your second clean plate. Make sure you file the edges of the second plate and degrease it before you apply the aquatint.

Stage 02 Step 01: Aquatint Application
Stage 02 Step 02: Plate to Plate Transfer For Multi-Color Printing
Stage 02 Step 03: Aquatint Stop Out
Stage 02 Step 04: Oil Based Ink Color Mixing

Stage 02 Step 05: Multi-Color Printing On Intaglio Press
Once you have printed both plates together the trick is to adjust your ink color and viscosity, as well as add and subtract marks where needed. You will want to proof the plates a number of times to arrive at a fully resolved edition.

Other Advanced Techniques
Follow these instructions once you have gotten the hang of creating and printing intaglio plates. There are a million ways you can combine these techniques - printmaking is all about practice and repetition, don't be afraid to experiment...
Spit Bite

This is a technique that will allow you to paint acid only where you want it - for a subtle, smoky aquatint tone.

Close up of spit bite printed in brown/ochre ink.
Progressive Hard Ground
This is a technique that will allow you to achieve a greater tonal range with hard ground etching.
Ala Poupe Wiping
This is a technique that will allow you to print multiple colors from one plate/run through the press.

Chine Cole
<Video yet to be added>
This is a technique that will allow you to collage various papers together as you print on them.
Intaglio Stencil
This is a technique that will allow you to print multiple colors from one plate/run through the press.


Scraping And Burnishing Aquatint
<Video yet to be added>
This is a technique that will allow you to remove tone from an aquatinted plate. This works a little bit like erasing tone off of a charcoal drawing.
Troubleshooting/Tips/Info
Check this section if you are having trouble with something and need advice or just want more information about the various techniques and how they look when used.

Zoom in on this image (above) to see the difference between dry-point, hard ground etching, roulette, etc...

Zoom in on this image (above) to see the difference between different types of aquatint stop out - sharpie, screen filler, crayon, etc...

Zoom in on this image (above) to see the various tones that can be achieved by leaving an aquatinted plate in the acid for shorter or longer amounts of time.
Zoom in on this image (above) to see the various dark/light lines that can be achieved by leaving a hard ground plate in the acid for shorter or longer amounts of time.
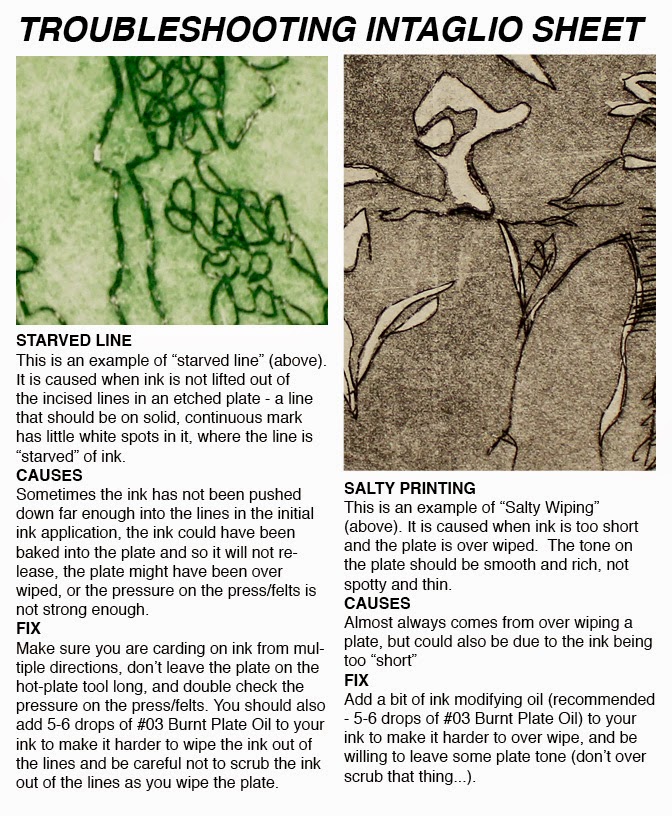
Starved Line (Printing Error)

This is an example of "starved line" (above). It is caused when ink is not lifted out of the incised lines in an etched plate - a line that should be on solid, continuous mark has little white spots in it, where the line is "starved" of ink.
CAUSES: Sometimes the ink has not been pushed down far enough into the lines in the initial ink application, the ink could have been baked into the plate and so it will not release, the plate might have been over wiped, or the pressure on the press/felts is not strong enough.
FIX: Make sure you are carding on ink from multiple directions, don't leave the plate on the hot-plate tool long, and double check the pressure on the press/felts. You should also add 5-6 drops of #03 Burnt Plate Oil to your ink to make it harder to wipe the ink out of the lines and be careful not to scrub the ink out of the lines as you wipe the plate.
Salty Printing (Printing Error)

This is an example of "Salty Wiping" (above). It is caused when ink is too short and the plate is over wiped. The tone on the plate should be smooth and rich, not spotty and thin.
CAUSES: Almost always comes from over wiping a plate, but could also be due to the ink being too "short"
FIX: Add a bit of ink modifying oil (recommended - 5-6 drops of #03 Burnt Plate Oil) to your ink to make it harder to over wipe, and be willing to leave some plate tone (don't over scrub that thing...).
Can you use sharpie after you have applied your hard ground so that you can see the marks that you make? The hard ground that I applied already is very transparent. I applied a thin layer of diluted black gouache so I could see the marks I made but it has worn off since I've started to work the plate. If I could get any form of feedback that would be awesome!
ReplyDeleteThanks,
Levi
Levi-
DeleteI don't usually get a lot of comments on these blogs, so I'll do my best to give you some tips. The big drawback of the floor wax is the visibility issue. Sometimes I will pour india ink onto the plate after the floor wax layer has dried (I do this almost exactly the same way the wax was applied - pour it on and dump the leftover back into the bottle). This is more permanent than gouache, worth a try. I have mostly just gotten used to looking for the scratches through the wax while I am drawing. You can also use another kind of hard ground, it will all work just fine with ferric.
Very nice article, I was impressed with your writing. very interesting for me to share.
ReplyDeletegclub
บาคาร่า
gclub casino
Very nice your blog and article. I like this blog thank for sharing.
ReplyDeleteทางบ้าน